Pyscript, developed by the Anaconda Team, is a system for interleaving python in HTML. This means you can write and run Python code in HTML, use pyscript to invoke javascript libraries, and use Python for any web development.
Pyscript is now based on pyodide, a “port of CPython to web assembly/Emscripten” project. Pyscript allows you to write and run Python code in your browser.

In this article, we will go through the basics of pyscript and understand what the use of pyscipt is. Let’s dive right in.
Pyscript’s Most Important Features
- It enables us to integrate python code into our HTML document.
- We don’t have to bother about deployments because we’re using pyscript. Everything is done through a web browser. We can exchange HTML files containing sophisticated dashboards or any chars data with anyone.
- Pyscript comprises three primary parts: py-env, py-script, and py-repl. We will go over the main components in detail.
Installation and Setup
Pyscript is simple to install and configure. It’s as simple as referencing it with the HTML.
To configure pyscript, you need to put the following two lines of code inside the section of your HTML code.
<link rel="stylesheet" href="https://pyscript.net/alpha/pyscript.css" />
<script defer src="https://pyscript.net/alpha/pyscript.js"></script>
Inside the part, you can use the tag and write your Python code inside the tags.
Hello World Program in Pyscript
Let’s write an example HTML code using pyscript.
index.html
<html>
    <head>
        <link rel="stylesheet" href="https://pyscript.net/alpha/pyscript.css" />
        <script defer src="https://pyscript.net/alpha/pyscript.js"></script>
        <title>My First Page</title>
    </head>
    <body>
        <py-script> print ('Hello World') </py-script>
    </body>
</html>
Output:

The <py-script> tag allows you to use Python code directly in your HTML template. You can run any Python code you want in the HTML file. Pyscript allows you to use everything you wish, including classes and functions. You simply compose them as you normally would.
Note: The browser will generate an unexpected indentation error if you try to indent your code inside, which we don’t want to deal with. So there should be no indentation.
Running Your Code on a Live Server
- If you are working with the VScode editor, you may utilize the live server add-on to reload the page as you make changes to the HTML file.
- Press CTRL + shift + x or click the extension tab. Search for “Live Server by Ritwick Dey” and install it.
- Then right-click the index.html file and choose the “Open with Live Server” option.
- Now your index.html file will be running live on your default browser.

Pyscript With the src Attribute
If you have a complex Python script or choose not to write your Python code directly inside tags, you can utilize a Python file as the source code, as shown below:
index.html
<html>
    <head>
        <link rel="stylesheet" href="https://pyscript.net/alpha/pyscript.css" />
        <script defer src="https://pyscript.net/alpha/pyscript.js"></script>
        <title>My First Page</title>
    </head>
    <body>
        <py-script src="./demo.py"> </py-script>
    </body>
</html>
demo.py
import random
lucky = random.randint(1, 12)
print('Hello my lucky number is '+str(lucky))
Output:

Note: If you’re trying to import a python file using the src attribute, make sure you’re running index.html on a local server because if you open it as a file, the browser will throw a CORS policy error.
Working With Python Environment
You can import built-in Python libraries, but what about external libraries like numpy and pandas? You can simply utilize external libraries and wrap them in the tag.
index.html
<html>
<head>
<link rel="stylesheet" href="https://pyscript.net/alpha/pyscript.css" />
<script defer src="https://pyscript.net/alpha/pyscript.js"></script>
</head>
<body>
<py-env>
- numpy
- pandas
</py-env>
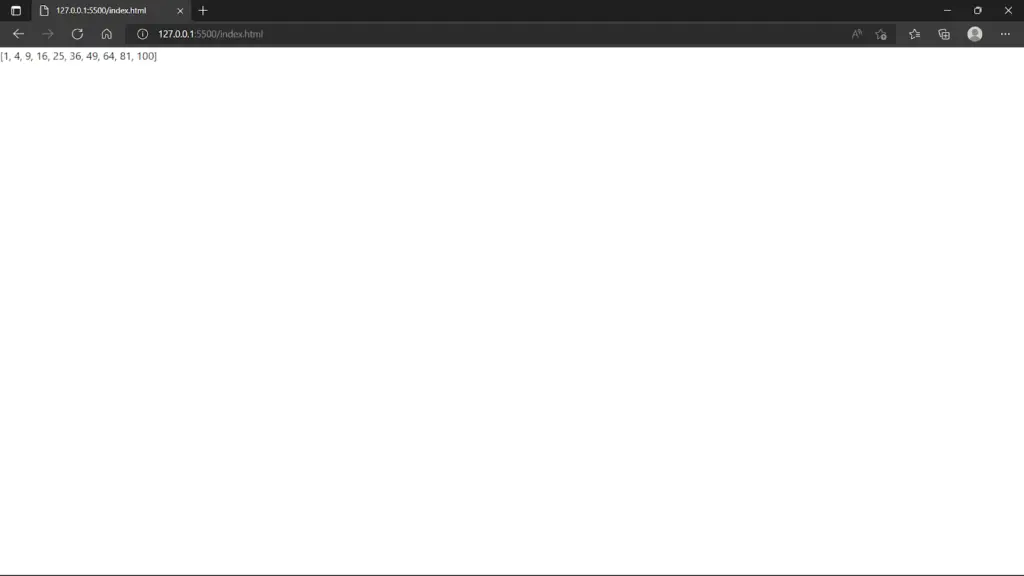
<py-script>
import numpy as np
import pandas as pd
x = pd.Series([1,2,3,4,5,6,7,8,9,10])
print([i**2 for i in x])
</py-script>
</body>
</html>Output:
Interactive Embedded Shell
The <py-repl> tag includes a REPL component, which works as a code editor and allows you to write executable code inline.
index.html
<html>
    <head>
        <link rel="stylesheet" href="https://pyscript.net/alpha/pyscript.css" />
        <script defer src="https://pyscript.net/alpha/pyscript.js"></script>
        <style>
        h1{
        display: flex;
        justify-content: center;
        align-items: center;
        }
        </style>
    </head>
<body>
    <py-env>
    - numpy
    - pandas
    </py-env>
    <h1>Interactive shell</h1>
    <py-repl id="my-repl" auto-generate=true> </py-repl>
</body>
</html>
Output:

Rendering Bokeh Plot With Pyscript
Let’s make a graph to show how many vegetables were sold in a month.
index.html
<html>
    <head>
        <meta charset="UTF-8">
        <meta http-equiv="X-UA-Compatible" content="IE=edge">
        <meta name="viewport" content="width=device-width, initial-scale=1.0">
        <link rel="stylesheet" href="https://pyscript.net/alpha/pyscript.css" />
        <script defer src="https://pyscript.net/alpha/pyscript.js"></script>
        <script type="text/javascript"
        src="https://cdn.bokeh.org/bokeh/release/bokeh-2.4.2.min.js"></script>
        <script type="text/javascript"
        src="https://cdn.bokeh.org/bokeh/release/bokeh-gl-2.4.2.min.js"></script>
        <script type="text/javascript"
        src="https://cdn.bokeh.org/bokeh/release/bokeh-widgets-2.4.2.min.js"></script>
        <script type="text/javascript"
        src="https://cdn.bokeh.org/bokeh/release/bokeh-tables-2.4.2.min.js"></script>
        <script type="text/javascript"
        src="https://cdn.bokeh.org/bokeh/release/bokeh-mathjax-2.4.2.min.js"></script>
        <title>Chart Example</title>
        <title>Chart Example</title>
        <py-env>
        - bokeh
        - numpy
        - pandas
        </py-env>
    </head>
<body>
    <h2>Bokeh Chart</h2>
    <div id="chart"></div>
    <py-script>
    import json
    import pyodide
    from js import Bokeh, console, JSON
    from bokeh.embed import json_item
    from bokeh.plotting import figure
    from bokeh.resources import CDN
    vegetables = ['Carrot', 'Onion', 'Potato', 'Cabbage', 'garlic']
    values = [15, 23, 34, 14, 12]
    pl = figure(x_range=vegetables, height=350, title="Vegetables Counts",
    toolbar_location=None, tools="")
    pl.vbar(x=vegetables, top=values, width=0.9)
    pl.xgrid.grid_line_color = None
    pl.y_range.start = 0
    p_json = json.dumps(json_item(pl, "chart"))
    Bokeh.embed.embed_item(JSON.parse(p_json))
    </py-script>
</body>
</html>
Output:
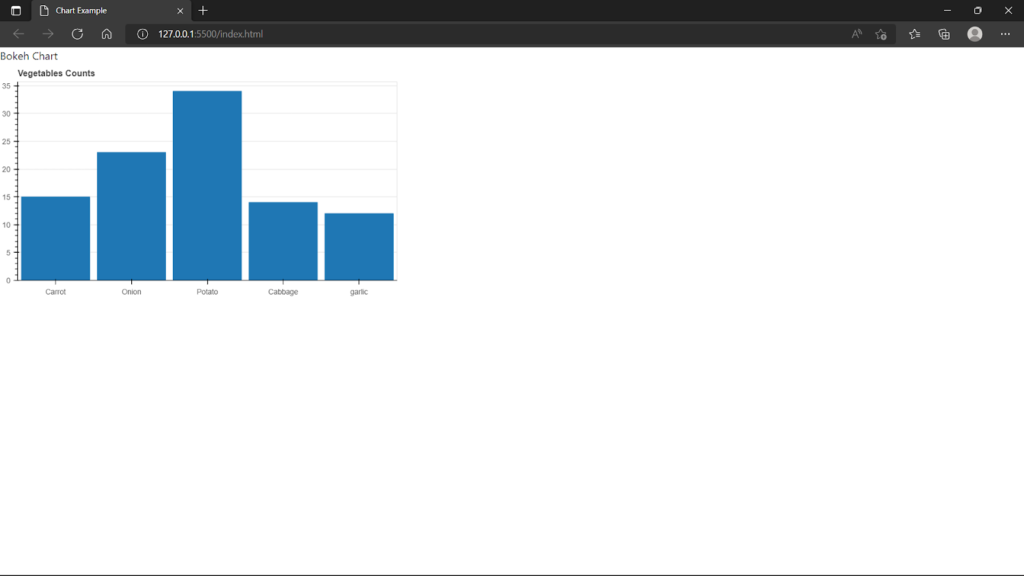
We can easily construct a graph using the HTML file. There are no complicated components required to display a chart like this. That’s how simple it is to use Pyscript to run Python in HTML.
Using Python to Access the HTML DOM to Handle Events
In PyScript, accessing the DOM is as simple as it is in Javascript. You only need to utilize the document from the JS library. It’s also worth noting that importing the library isn’t really required as they’re already there.
index.html
<html>
<head>
<link rel="stylesheet" href="https://pyscript.net/alpha/pyscript.css" />
<script defer src="https://pyscript.net/alpha/pyscript.js"></script>
<style>
h1{
display: flex;
justify-content: center;
align-items: center;
}
div{
display: flex;
justify-content: center;
align-items: center;
margin-top: 100px;
}
button{
background-color: Black;
color: white;
border-radius: 5px;
}
</style>
</head>
<body>
<h1>PyScript Events</h1>
<div>
<button id="change_me"> Press me ! </button>
</div>
<py-script>
import pyodide
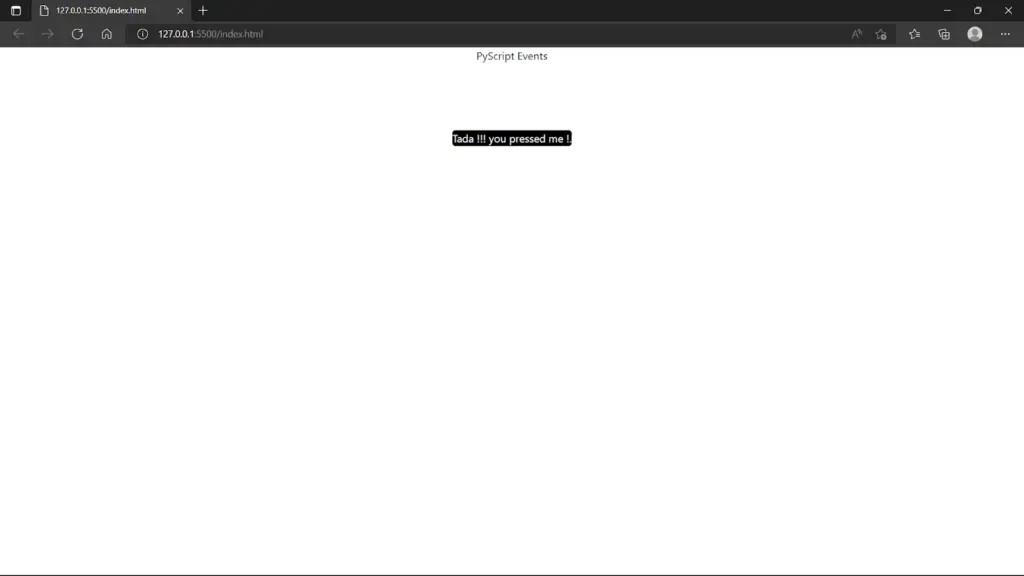
def on_click(e):
e.target.innerHTML = "Tada !!! you pressed me !."
change_me_element = document.getElementById('change_me')
change_me_element.addEventListener('click', pyodide.create_proxy(on_click))
</py-script>
</body>
</html>Output:
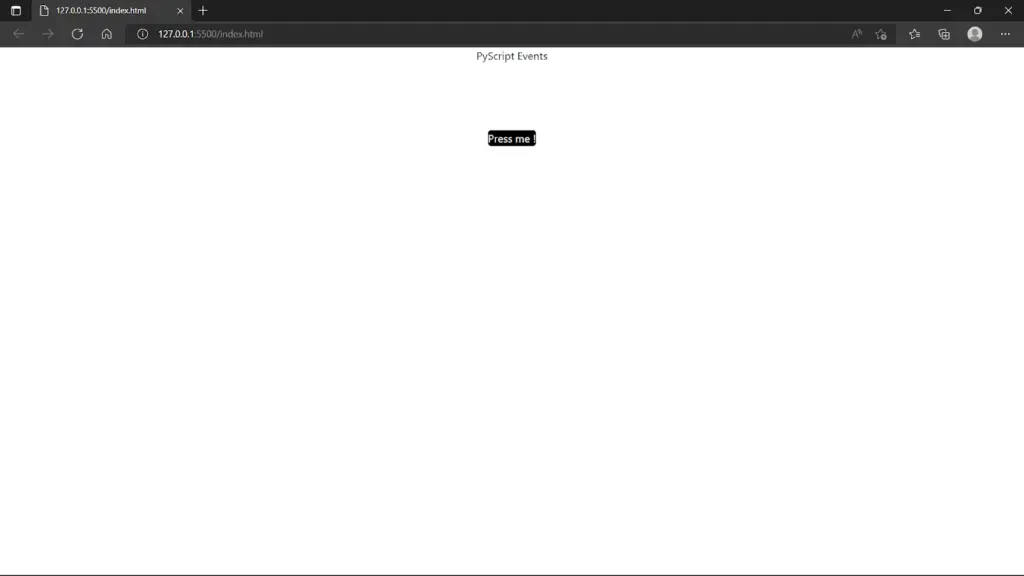
The text inside the button will change once you press it.
Final Thoughts
Pyscript appears to have a lot of promise for Python coders. However, there could be a lot of security concerns. We’re also using Python libraries in the browser, which takes a long time to execute. But the future of this technology looks promising. Let’s hope for more features and improvements in pyscript in the upcoming years.
I hope you found this article useful. Happy coding!
3 thoughts on “Pyscript Tutorial With Simple Code Examples”
Leave a Reply
Recent Posts
Modular programming is a software design technique that emphasizes separating the functionality of a program into independent, interchangeable modules. In this tutorial, let's understand what modular...
While Flask provides the essentials to get a web application up and running, it doesn't force anything upon the developer. This means that many features aren't included in the core framework....

how can i use this for opencv and mediapipe library
Event handle index.html is:
def on_click(e):
e.target.innerHTML = “Tada !!! you pressed me !.”
change_me_element = document.getElementById(‘change_me’)
change_me_element.addEventListener(‘click’, pyodide.create_proxy(on_click))
s/b:
def on_click(e):
e.target.innerHTML = “Tada !!! you pressed me !.”
change_me_element = document.getElementById(‘change_me’)
change_me_element.addEventListener(‘click’, pyodide.create_proxy(on_click))
Also, the button press is not recognized. More reading is required on my part.
Thank you for a great introduction to a new devlopment!
Button working as advertised.
import pyodide
def on_click(e):
e.target.innerHTML = “Tada !!! you pressed me !.”
change_me_element = document.getElementById(‘change_me’)
change_me_element.addEventListener(‘click’, pyodide.create_proxy(on_click))
I indented too many lines.