There are three types of cloud computing service models: Infrastructure-as-a-Service (IaaS), Platforms-as-a-Service (PaaS), and Software-as-a-Service (SaaS). Each service allows the transfer of user data from front-end clients across the internet to the cloud service provider’s servers and back, but they differ in the utilities and the service they offer.
Heroku provides Platform as a Service (PaaS). It is a platform that allows developers to launch, manage, and scale programs. It is adaptable and simple to use, making it easy for the developers to get their products to market.
Heroku alleviates most of the infrastructure load associated with developing and hosting web apps, enabling you to concentrate on developing a fantastic app.
You’ll learn how to deploy a Flask application on Heroku in this article. By deploying your web application online, your app can reach a larger audience and supply its services through an online portal.
Without any further ado, let’s dive right in.
1. Prerequisites
Before you can start, you need to do four things:
- Install git
- Install Python 3
- Install pip
- Sign-up for free to Heroku
If you have all of these things ready, let’s go to the next step.
2. Install Heroku CLI
To install Heroku CLI on Windows, go to this link: https://devcenter.heroku.com/articles/heroku-cli#install-the-heroku-cli
Once you install it, check the status to confirm the installation of Heroku CLI.
To check the status of your CLI installation, use the following command in your command prompt or command line:
heroku --versionImage for reference:

If you can see the version of Heroku, you are good to go.
3. Getting Started With Heroku
After installing the CLI, run the “heroku login” command to log in to your Heroku account.
heroku login
Press any key. It will navigate you to the web login page.
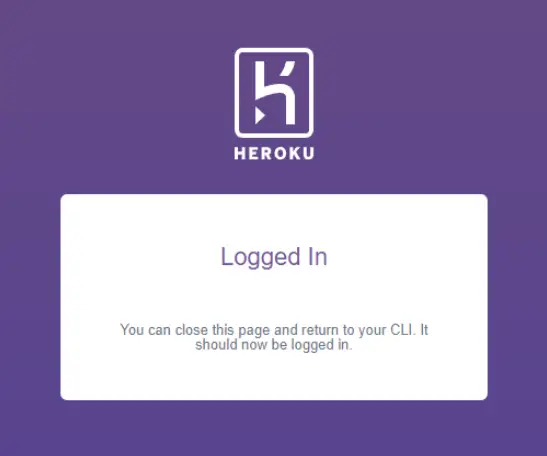
Enter the credentials and log in. Create an account if you don’t have one already.

If you have logged in successfully, you will get a response as shown in the above snapshot.
4. Create the Environment for Flask Project
Start with an empty project in VS Code or any preferred text editor.
Create a New Working Directory
Let’s create a new folder for the project.

Create a Virtual Environment
Now create a virtual environment so that there are no conflicts with Heroku during the deployment.

Image for reference:

These commands build and activate a virtual environment named venv, which you will be using to load and install packages.
Install Required Libraries
Using pip, install the libraries. We’ll be using flask for the app and gunicorn for the server.

5. Create a Flask App
First, create a folder for the app and navigate inside the folder.

Inside the app folder, create a main.py script.

The below code will simply print “My Flask App”.
from flask import Flask

app = Flask(__name__)

@app.route('/')
def index():
    return '<h1>My Flask App</h1>'
Now, let’s create a script to run the app.
Move to the parent directory.

Create a new file named run.py with the below code.
from FirstApp.main import FirstApp
if __name__ == "__main__":
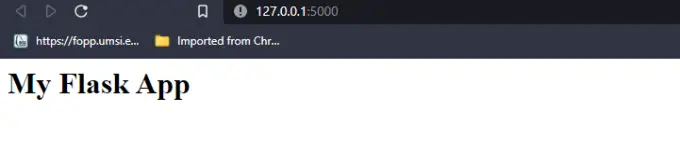
FirstApp.run()To verify if the app works, try running the app first.

Image for reference:

Once your app has started working, open your browser and enter the given URL https://127.0.0.1:5000. If not, do press Ctrl+left. It will redirect you to the website.
6. Prepare Required Files to Deploy to Heroku
Create Requirements.txt
Before proceeding further, let’s freeze the virtual environment and make changes to the requirements.txt.

You can go to your project directory, open the requirements.txt file, and make any changes if needed. The required packages will be downloaded while deploying the app.
Create a Procfile
We need to create a Procfile that contains the commands that Heroku will need to run. Make sure UTF-8 is selected as the encoding type in VSCode or your code editor.
Run the command below:
echo web: gunicorn run:app >> Procfile
7. Deploy Your App to Heroku
Login to Heroku.

Create a Heroku app with the name of your choice. I have used “my-flask-site”. Make sure all characters are lowercase.

Image for reference:

Now, you need to push the whole project in git.
To add Heroku App to remote, type the following commands.

Deploy the Flask App to Heroku
We need to add all the project files and create a local commit named “Init deploy”(commit name is of your choice). Then we need to push the local commit to the remote named “heroku master”.

Image for reference:
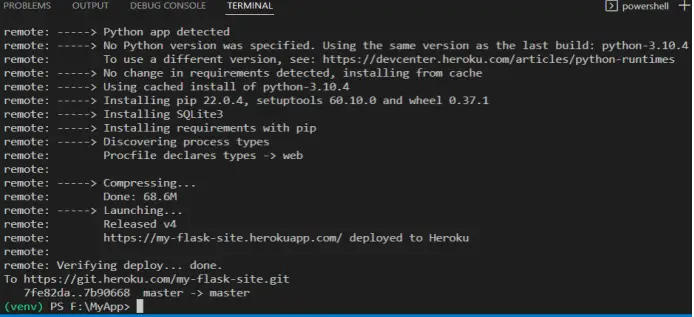
Congratulations, your first web app has been successfully uploaded to Heroku! The Flask app should be live now. You can go to https://my-flask-site.herokuapp.com/ to see the app working live.
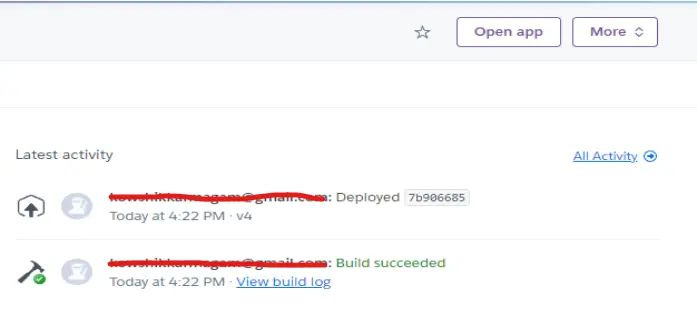
You can go to the Heroku dashboard and check your app’s status.
Final Thoughts
In the above article, we demonstrated how to deploy our flask app on Heroku. Heroku has free plans as well as student options.
Even though the free plan is restricted, it is adequate for a simple app, proof of concept, or modest project. However, if you want to grow your application, you should look at one of the plans accessible on the site.
Recent Posts
Modular programming is a software design technique that emphasizes separating the functionality of a program into independent, interchangeable modules. In this tutorial, let's understand what modular...
While Flask provides the essentials to get a web application up and running, it doesn't force anything upon the developer. This means that many features aren't included in the core framework....
